

How To Fix Wrong Color Wood Stain
If you want to fix the incorrect stain color, a bad stain color, an ugly, outdated or tiresome stain colour, in that location is an easier way to do information technology without having to strip the piece of furniture dorsum down to bare woods. In fact with this technique, in most cases, y'all won't even have to remove the top glaze.
What are we talking about, here? We're talking virtually gel stain.
Gel stain is an oil based stain that is thicker than bones wood stain. I won't cartel get technical on the chemical makeup of this product. But I will tell yous that I used this method. I found it very piece of cake to work with and found it to be a great solution for keeping Ken's crate manner side table/subwoofer cover looking like woods, nevertheless in a completely different stain color.
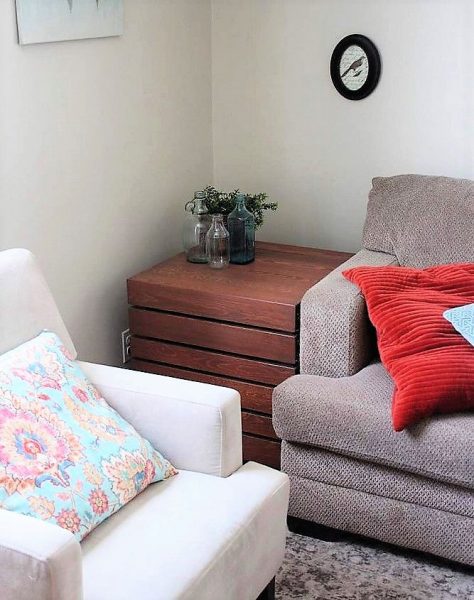
The original stain color, as well stained by your'southward truly, was just then totally wrong for the paint color in this room. Not to mention that it didn't actually coordinate with any of the other stained forest pieces in this space. In addition, at certain times of the day (and in well-nigh photos), the stain looked most salmon colored. LOL.
It just wasn't working for me.
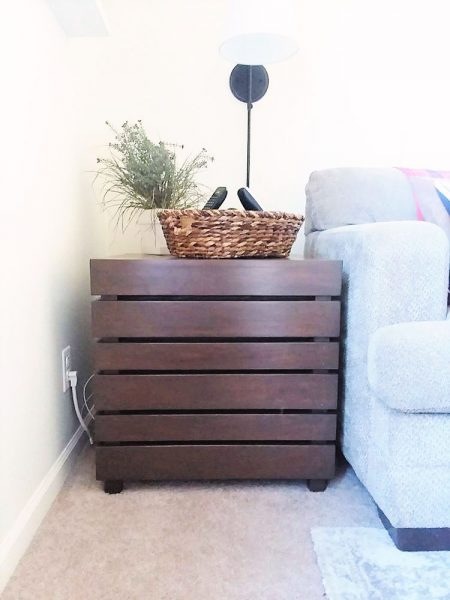
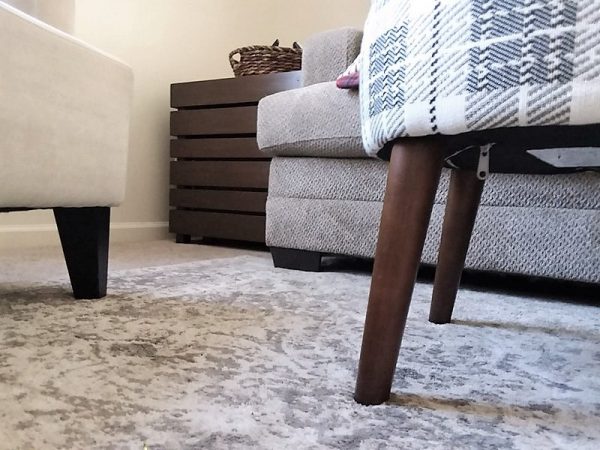
I tin can't tell you how much better I like this piece in our living room, now. It'south a dark walnut tone that actually compliments our antique white wall color, and pairs so much improve with some of the other wood tones in the room. Woohoo!
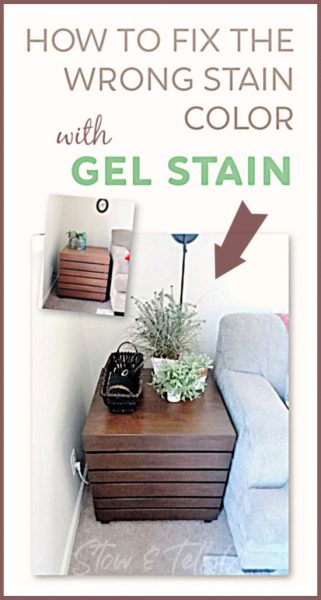
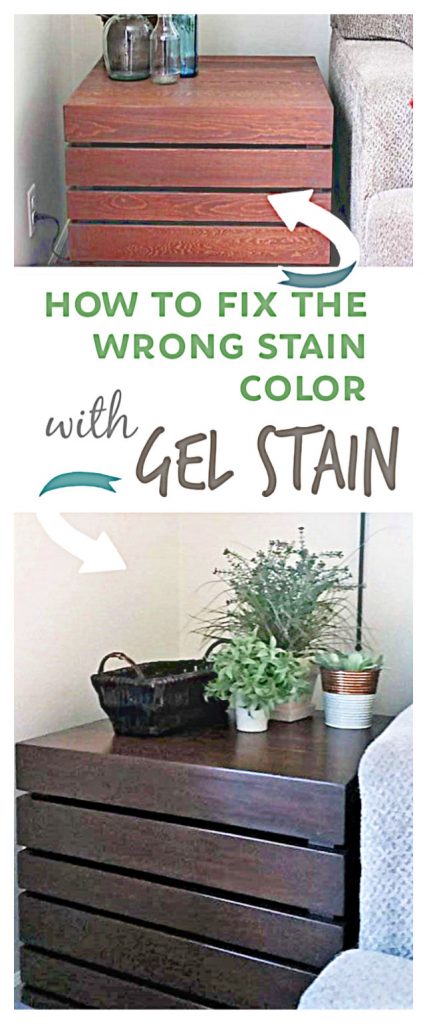
How to fix the wrong stain color with gel stain
This post contains affiliate links. If you make a buy past clicking on ane of the links, I may receive a small committee, simply you will not pay a penny more. Read total disclosure, hither.
There are a few basic recommended guidelines for using gel stain.
Here are a few of them:
- Choosing at least a shade or two darker than the original finish y'all are trying to set. Ane example would exist changing golden oak to a cherry finish.
- Applying several coats of this product for it to really change the original colour, tone or shade. What this does is build layers of pigment.
- Allowing each glaze to dry completely before applying the next coat. Gel stain does not penetrate as deeply into the wood like regular stain. Rather, It sits on top of the one-time finish, so it can more easily exist rubbed off if not dry.
- Protecting the gel stain end with a top glaze sealer. Once more, since it sit'southward on top of the erstwhile finish, it needs protection.
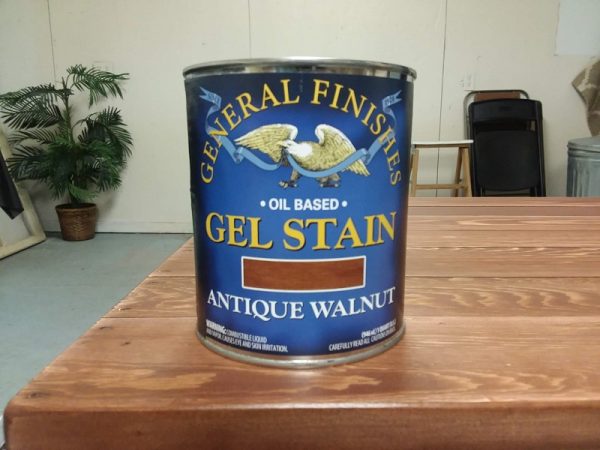
There are diverse brands of gel stain on the market place. For the project in this instance, I used General Finishes Oil Based Gel Stain in the color, Walnut. I cannot say one way or the other, which is the best gel stain to apply, but I volition say this brand was very easy to apply and worked actually well for me. I purchased mine at the local pigment store, but you can also notice it online, here
Bones tools you need to apply gel stain over existing stain (even clear coats).
- Gel stain – I used General Finished Oil Based in color Antique Walnut
- Summit glaze sealer – I used General Finished Wipe On Gel Peak Glaze
- Degreaser cleaner and damp cloth – We similar Simple Green
- 150 grit sandpaper
- Cream paint brushes
- Latex gloves
- Tack cloth
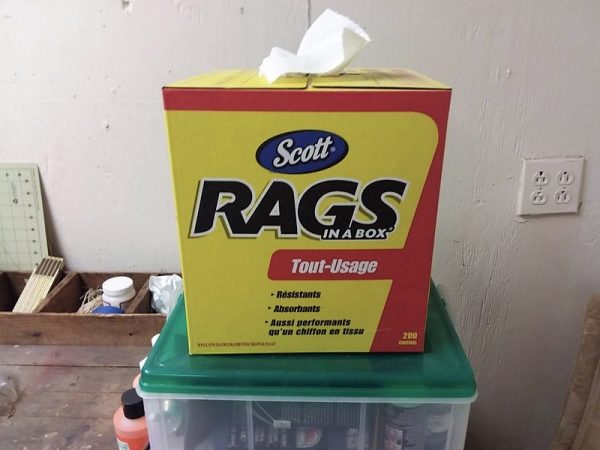
- Lint gratis rags or a white tube sock – We like the Scott Rags in a Box
- Painters tarp
- Good ventilation
- An expanse to work that allows for approximately 24- 72 hours drying time.

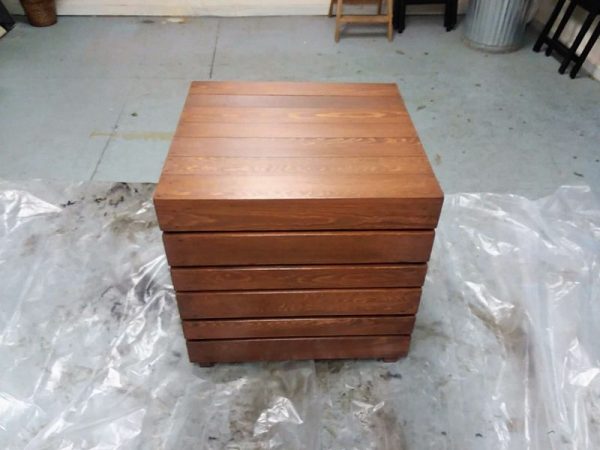
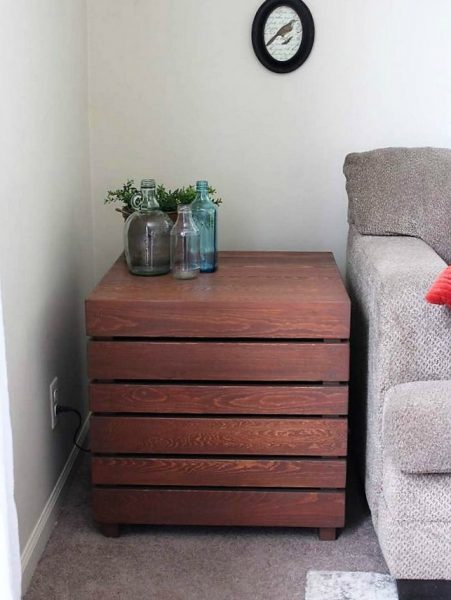
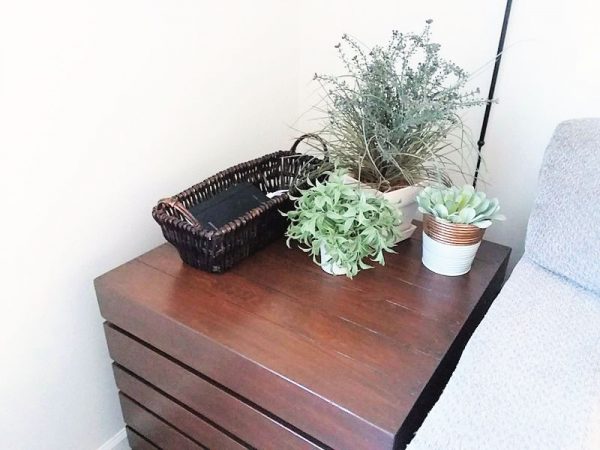
The stain colour I was trying to alter. While it'due south not bad, it was likewise orange and pink against the antique white walls in our living room.
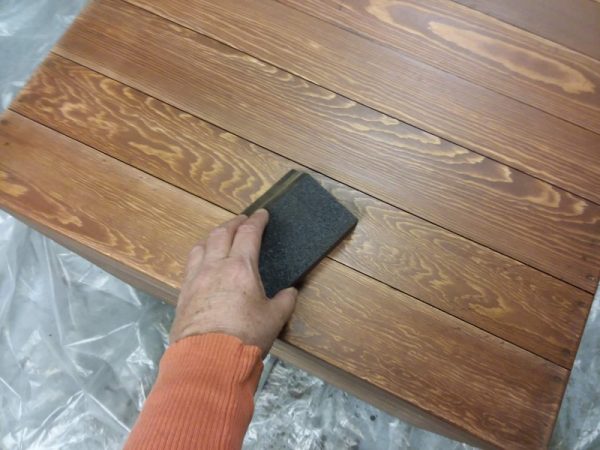
Lightly sanding downwardly the original superlative glaze
Bones steps to apply gel stain over existing stain and/or clear coats
- Clean all article of furniture surfaces with the degreaser cleaner
- Lightly sand all areas that volition receive the gel stain application. In this case, my original terminate was Mini-Wax Tung Oil Stop. I was a little nervous that the gel colour would not take nicely over the onetime stop, but it really took like a amuse.
- Wipe down sanded areas with clammy cloth and let dry out
- Gently rub tack cloth over surface but earlier applying the stain
- Dip foam paint brush into gel stain and dab generously over the ane section of the wood furniture.
- Use the foam brush to smooth and even out the stain over the surface of that department.
- Repeat the procedure over all areas of the furniture moving from 1 section to the section correct next to it, and and then on.
- Permit the stain sit for 5 to 10 minutes. It could be a niggling more of less, it volition depend on the humidity and temperature individually.
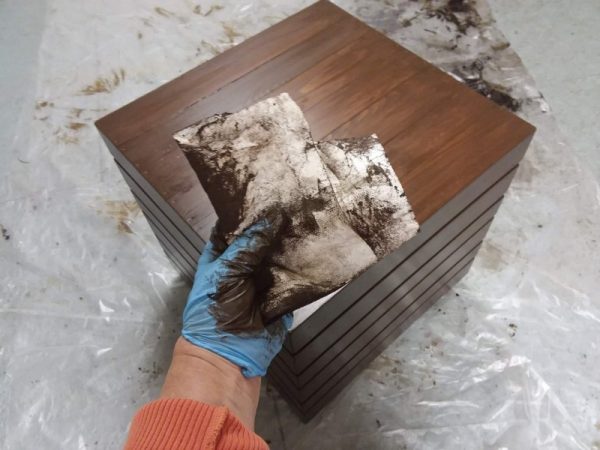
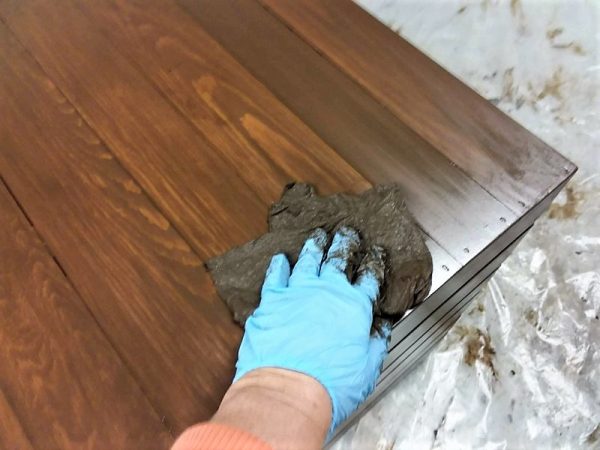
- Starting with the showtime expanse that y'all applied the stain to, apply the rag (or place your paw inside the tube sock) and rub the stain into the wood going along the grain. Continue following the same pattern that you used to lay down the stain. One time again, try not to spring around, but rather work section adjacent to section.
- Once the whole piece has been treated, allow the article of furniture piece to dry out according to the gel stain label's directions. The Full general Finish's directions called for a drying period of 24 hours.
- For the 2d coat, there is no need to sand. Unproblematic outset with the staining process and echo all the steps.
- Repeat the whole staining process again to use a 3rd coat, and quaternary if necessary. I'll mention again, I found that I did not have to sand in between coats.
- Once you are happy with the new stain finish, utilise a peak coat every bit per the characterization on your top coat of choice. I used this wipe on gel height glaze and it was a delight to apply and work with.
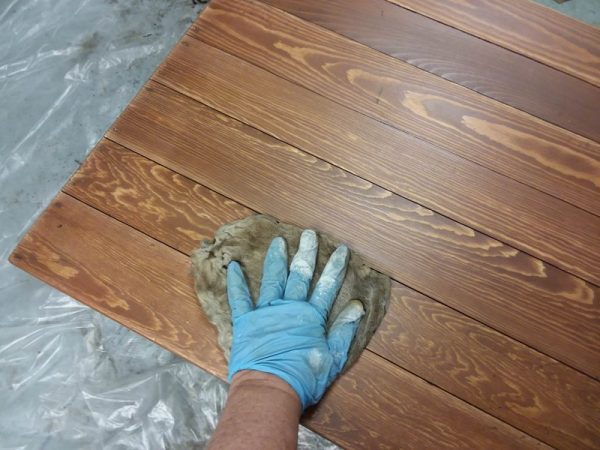
Wiping crate tabular array down with tack cloth
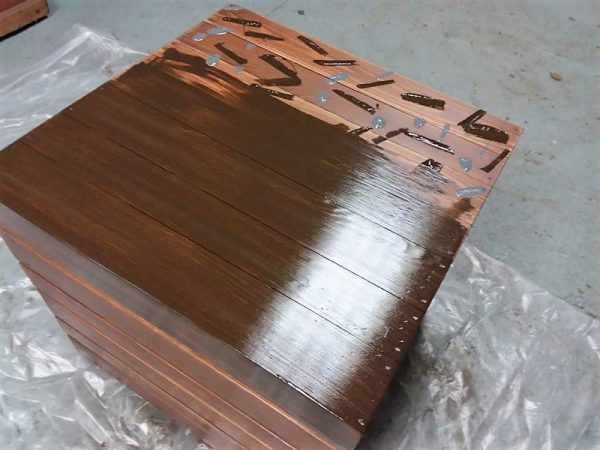
Applying Full general Finishes Antiquarian Walnut (with a few dabs of the same make in color: Grayness) I only added the greyness to the first coat. Notwithstanding, the application is every bit simple every bit dabbing on some of the stain and then using a brush to smooth it over the surface.
If y'all don't believe this transformation, you can meet how different our golden pine dining table looks after re-staining information technology with gel stain.
Culling options for applying the gel stain:
- For a more opaque finish, utilise the gel stain, but do not rub the stain in, only permit information technology dry equally is. Adjacent, lightly sand the stop, and repeat 2 more than coats, dying and sanding in between. And so use a top coat as mentioned above.
- Another pick is using a softening paint brush
. This type of application might be good if you'd similar more than of a layered look, or some of the original stain to show through.
- One other style to utilize the gel stain would exist to apply the starting time glaze with the rubbing in technique and then the post-obit coats with the softening paint castor.
- Watch this video for applying GF Finish Gel Stain over existing cabinetry

Subwoofer/Crate Table BEFORE photo
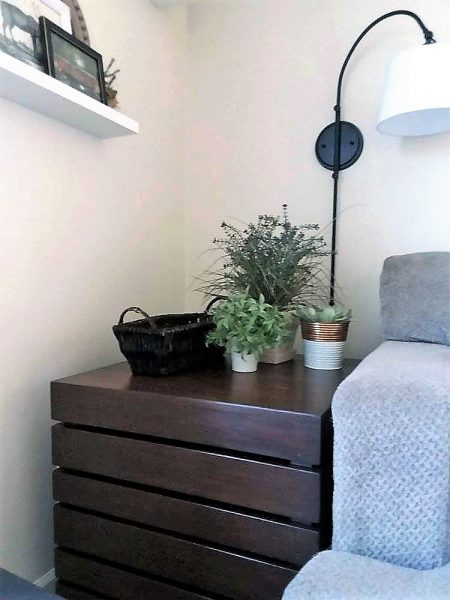
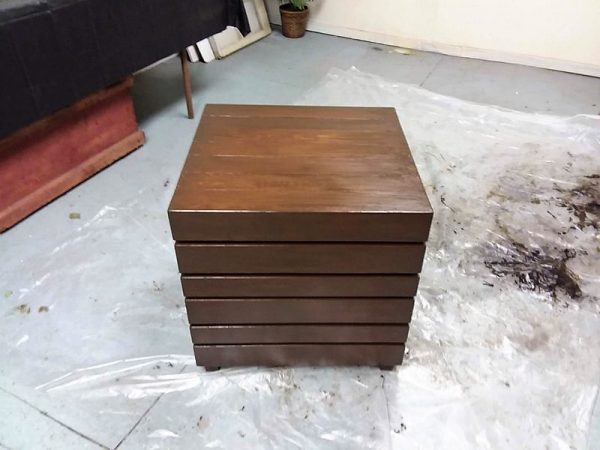
Crate table AFTER photo with the Antique Walnut finish
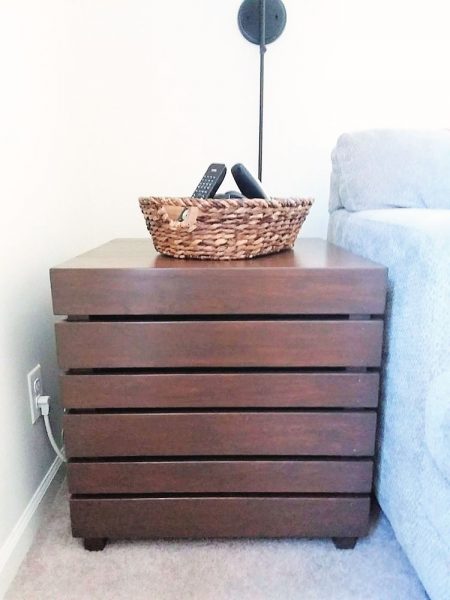
At present the crate tabular array matches some of the other stained woods in the living room.
 Think with any new paint or staining projection, it is ever helpful to try the product out on a exam piece of wood or something small with a like original "bad" finish. Consider a picture show frame, small-scale stool or former shelf for testing. While this is not necessary, doing this helps you get a experience for using the product earlier y'all start applying it on the actual slice you are trying to improve.
Fixing a really bad stain color or the wrong stain color with gel stain is a slap-up alternative to stripping article of furniture back downwardly to bare woods. Consider using information technology on outdated terminate tables, java tables, dressers, benches, trunks, shelves, outdated forest cabinetry and more.
Whatever you do, don't be afraid to utilize gel stain to spruce upward older or outdated furniture or cabinets. Even if you mess it up, gel stain tin exist stripped off or painted over, but the same as the original end.
Do yous similar this thought? Pin to your favorite board for after reference ->>
More Wood Stain Inspired Projects
- Vintage Sears and Roebuck Side Buffet Makeover
- How to Refinish Wooden Outdoor Furniture
- DIY Over-the-Kitchen-Sink Shelf from Pallet Forest
- Plywood DIY Cat Cubby Crate
- Imitation Woods Grain Chalkboard Surface
- The Easiest Whitewashing Technique for Plywood

How To Fix Wrong Color Wood Stain,
Source: https://stowandtellu.com/fix-wrong-stain-color-on-wood/
Posted by: nettlessubsed.blogspot.com
0 Response to "How To Fix Wrong Color Wood Stain"
Post a Comment